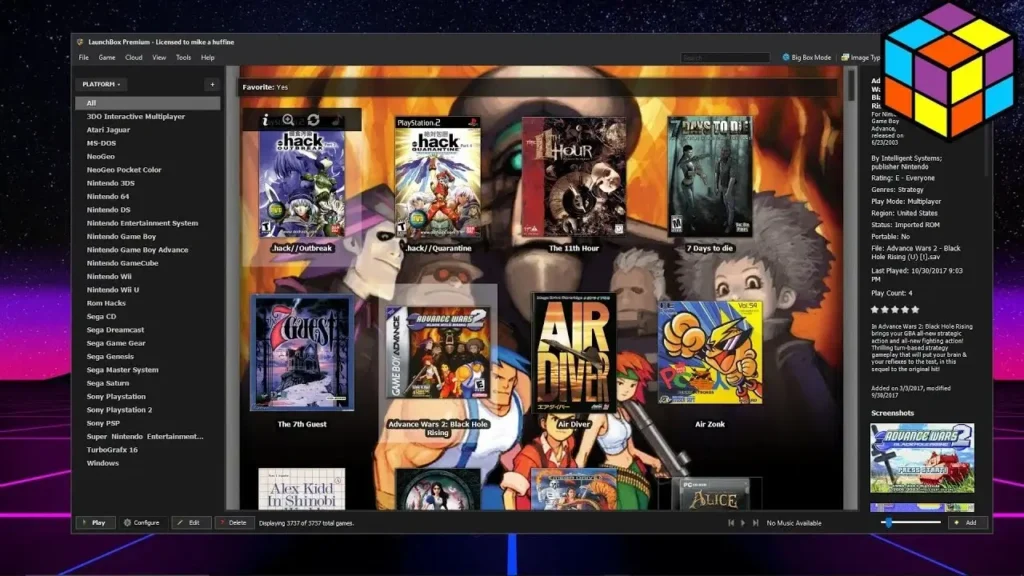
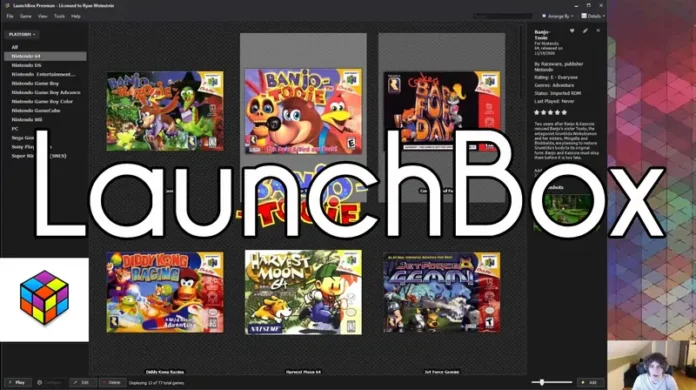
If you’re an avid retro gamer, then you’ve probably heard of LaunchBox. It is a popular frontend for launching video games. It’s simple to use and has a ton of features that make it a must-have for any retro gamer. One of the best features is the built-in LaunchBox ROM management. In this guide, we’ll show you how to effectively manage your ROMs using Launchbox ROM management features.
What is LaunchBox?
LaunchBox is software that allows you to play, organize, and emulate your video games. It includes features such as ROM management, which makes it easy to add, delete, and manage your game ROMs.
It also has a ton of other features such as Steam library imports and game launchers that make it a must-have for any retro gamer. It is available for Windows and Android.

LaunchBox Rom Management Basics
LaunchBox ROM management makes it easy to add, delete, and manage your ROMs.
To add a new ROM, simply click on the “Add Game” button and select the platform.
For example, if you’re adding a Nintendo 64 game, you would select the “Nintendo 64” platform. Once you’ve selected the platform, you’ll be prompted to browse for the game’s ROM file. Select the file and click “Open.” The game will now be added to your library.
To delete a game, simply click on the game in your library and press the “Delete” key on your keyboard. You’ll be prompted to confirm that you want to delete the game. Once you’ve confirmed, the game will be removed from your library.
Managing Your ROMs
There are a few different ways that you can manage your ROMs. One way is to use built-in LaunchBox ROM management features.
Using LaunchBox built-in ROM Management
LaunchBox makes it easy to organize your ROMs into different categories.
To do this, simply click on the “Games” tab and select the “Categories” option.
From here, you can create new categories or edit existing ones. To add a game to a category, simply drag and drop the game into the appropriate category folder. You can also add games to multiple categories if you wish.
Third-Party Rom Management Tools
In addition to the built-in ROM management features, there are also a number of third-party tools that you can use to manage your ROMs. These tools include Rom Center and ClrMamePro. These tools allow you to easily organize your ROMs and keep them up-to-date.
Which method you use is up to you. We recommend using Launchbox ROM management built-in features if you’re just starting out. Once you get more comfortable, you can experiment with third-party tools if you wish.
How to import ROM Files to LaunchBox?
Launchbox makes it easy to import ROM files.
- Go to Tools > Import > ROM files or directly click the Import ROM files.
- An import wizard will open. Click on the Next button.
- Select the folder by clicking Add Folder button.
- Select games from a single platform at a time.
- Hit Next to select the system of ROMs.
- Now hit Next to select the emulator and hit Add to find the emulators.
Hurray! You have successfully imported ROM files to LaunchBox.
You can also add ROM files by dragging and dropping them into the “Games” folder. It will automatically detect the files and add them to your library.
LaunchBox Rom Management Tips
Here are a few tips to help you get the most out of LaunchBox’s ROM management features:
- Use categories to organize your games. This will make it easier to find and launch the games you want to play.
- Use third-party tools such as Rom Center or ClrMamePro to keep your ROMs up-to-date.
- Delete games that you no longer play. This will keep your library organized and tidy.
- Back up your LaunchBox database regularly. This way, if something goes wrong, you can restore your games from a backup.
- Use the “Check for Missing Roms” feature to identify and fix any missing or corrupt ROMs.
Following these tips will help you get the most out of Launchbox’s ROM management features. By using these tips, you can keep your library organized and tidy, and easily launch the games you want to play.
Where can I find ROMs for LaunchBox?
Several websites offer ROMs for LaunchBox. Some of the more popular ones include:
- CoolROM
- Emuparadise
- Nintendo Life
- Rom Hustler
- The Iso Zone
Be sure to check the terms of use for each website before downloading any ROMs. Some websites may require you to create an account before you can download ROMs.
Read Also: Azur Lane Tier List: Best Ships Ranked 2024
What platforms does LaunchBox support?
LaunchBox currently supports a wide variety of platforms, including:
- Nintendo Entertainment System (NES)
- Super Nintendo Entertainment System (SNES)
- Nintendo 64 (N64)
- GameCube
- Wii
- Wii U
- Nintendo Switch
- Sega Genesis/Mega Drive
- Sega Dreamcast
- Sony PlayStation
- Sony PlayStation 2
- Sony PlayStation 3
- Sony PlayStation 4
- Xbox
- Xbox 360
- Xbox One
- PC Games
- Mac Games
- Linux Games
- Android Games
- iOS Games
- Arcade Cabinets
- Pinball Machines
LaunchBox is constantly adding support for new platforms, so be sure to check back their games database. You can also request support for new platforms on the LaunchBox forums.
How do I add ROMs to LaunchBox?
You can easily do it by using LaunchBox ROM management built-in features.
- Click on the “Add Game” button and select the appropriate platform.
- After selecting the platform, select the game’s ROM file.
- Hit the Open button to add the game ROM to the LaunchBox library.
Takeaway
Launchbox is a great software for launching video games. One of its best features is its ROM management system which makes it easy to add, delete, and manage your ROMs. In this guide, we’ve shown you how to effectively use Launchbox ROM management features. With these tips in hand, you’ll be able to keep your retro gaming library organized and tidy with ease!


